1500+ ★★★★★ REVIEWS
Tape In Hair Extensions: The Ultimate Guide
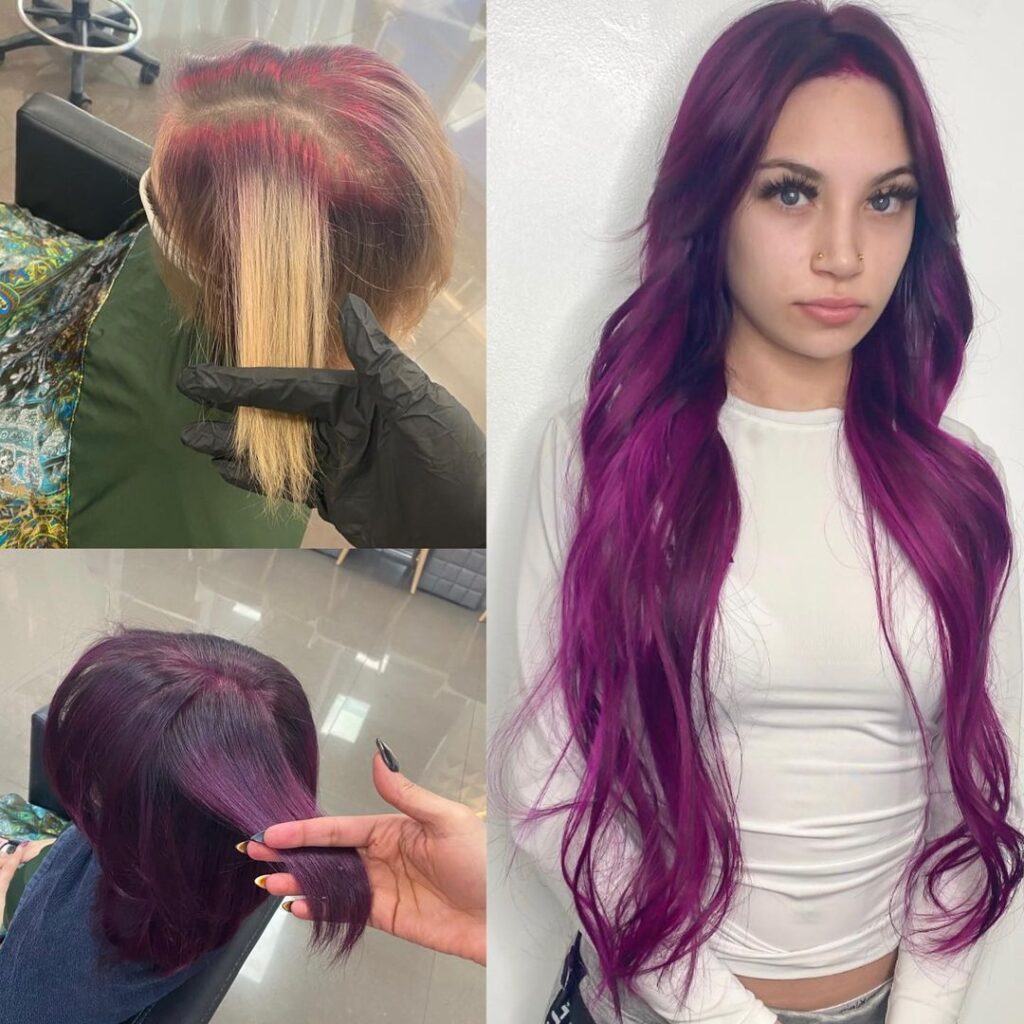
Tape in hair extensions are an amazing way to get a fuller, thicker hairstyle without damaging your natural hair. If you’re looking for some new and innovative ways to spice up your look, then this is the article for you! In this guide, we will talk about what tape in hair extensions are, how they work and which type of tape in extension is best for you!
What are Tape In Hair Extensions?
Tape in hair extensions are a way of adding extra length and volume to your hair, without the hassle of applying glue or weaving them into your own natural hair.
They are generally made of 1.5 inch wefts of hair that are attached close to the scalp with either a special adhesive or specially designed tapes.
The adhesive is usually made up with latex or silicone compounds that adhere well onto both dry and wet surfaces respectively. Once you have secured these pieces on top of one another, make sure not to brush through the area where it has been applied as this can cause tangling!
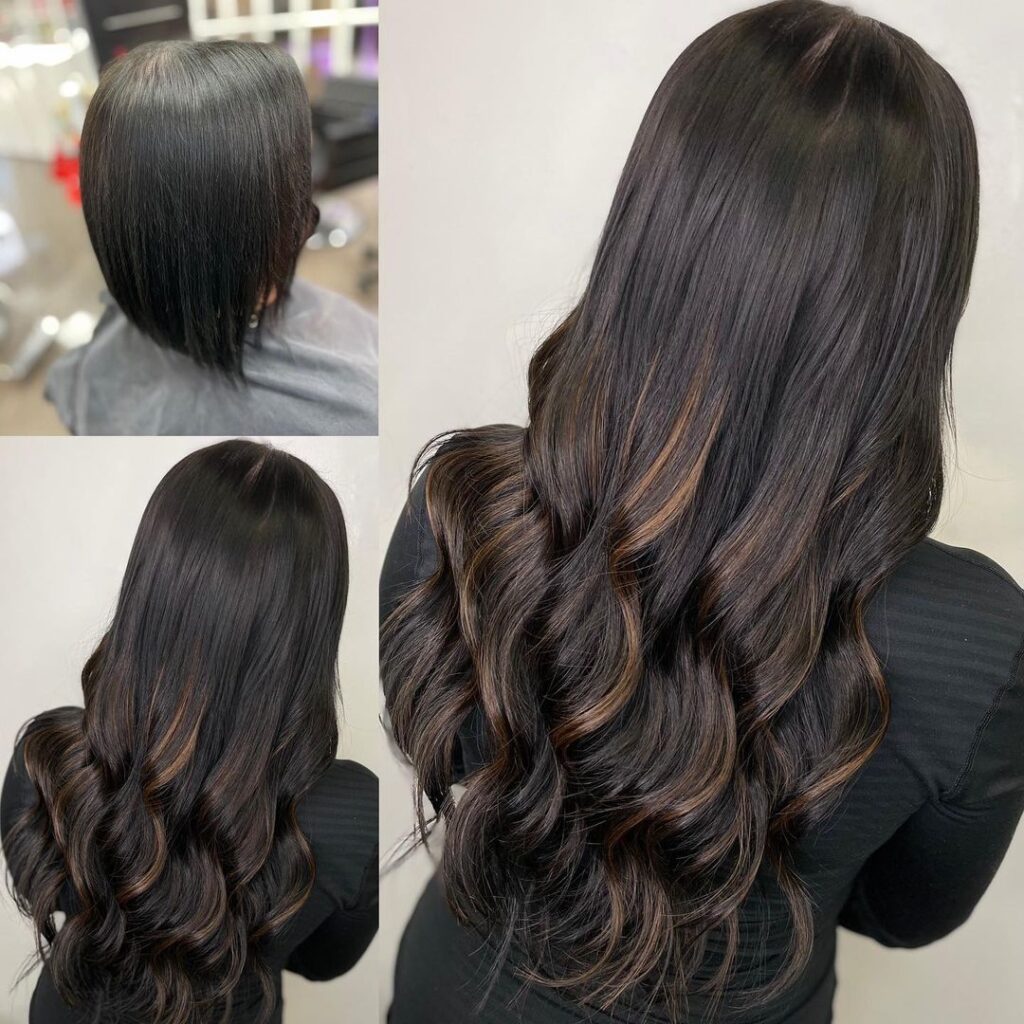
How Tape In Hair Extensions work?
The way tape in extensions works depends largely on how much time you want spend maintaining them day-to-day: if you’re looking for an easier way to get a fuller, thicker hairstyle that’s quick and easy to maintain then all you’ll need is an hour or two each week!
The first thing you should do before applying them is wash your hair so they adhere properly. Dry the roots of your natural hair completely with a towel. If it’s too wet, the adhesive won’t work as well.
Now comes time for application: start by taking out one piece of tape in extension at a time and apply it using either latex or silicone compounds onto dry strands on top of your head where you want more volume and length added. Make sure not to overlap any pieces while doing this because that can create tangles which will be very difficult to remove later on!
After you have applied the extensions, it’s time for salon maintenance every six to eight weeks.
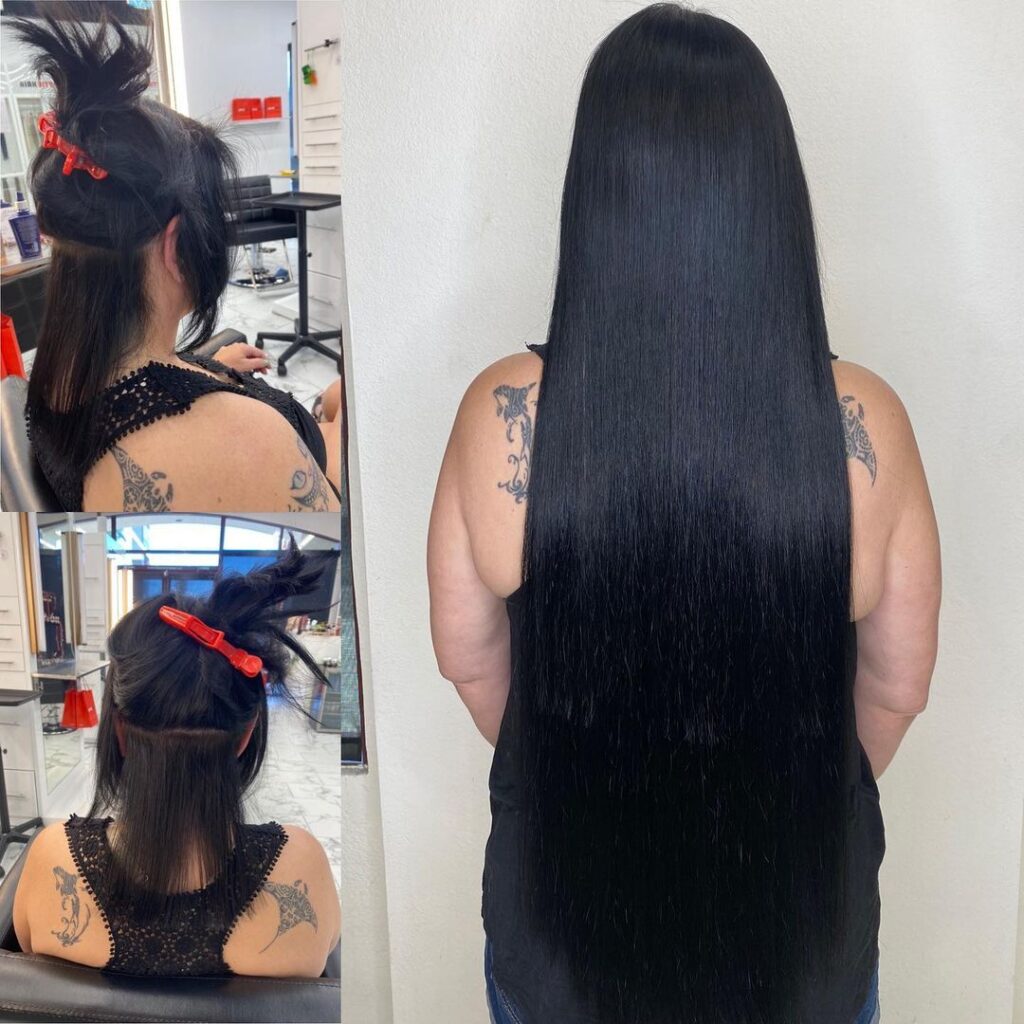
How Tape In Hair Extensions differ from other types of hair extensions?
Tape in hair extensions are different from other types of hair extension systems because they use a thin, clear strip to hold the hair pieces close to your natural scalp. This means that you do not need any glue or chemicals for these particular type of tape-ins. If you’ve done it right, then there’s no way anyone will be able to tell where your real hair ends and the extensions begin.
Tape In Vs. Weft Hair Extensions
Weft extensions are different because they use wefts of remy hair sewn together to create a long, thick piece that can be applied directly onto your natural scalp. This type of weft extension is usually installed by a professional stylist and will require you come into the salon every once a month for an adjustment or removal. They are a little thicker and bulkier than tape-ins, but they can be more durable.
Tape In Vs. Fusion Hair Extensions
Fusion extensions are also different because they differ in that they use a keratin-based adhesive. The pieces can be cut into any shape or length, but the best thing about them is that you don’t need to worry about re-touching your roots as often! Tape Ins and Fusion extensions have a lot of the same pros and cons, but one thing that sets them apart is how long they last: fusion hair can stay in your head for up to four months! However, fusion hair is generally not easy to reuse, where as Tape In hair extensions in some case can be reused for nine months to a year plus.
Tape In Vs. I-Tip Hair Extensions
I-tip extensions are thinner and more difficult to maintain and install, but they do offer a natural look that Tape In hair extensions may not be able to match. These extensions are also generally more expensive and may require you to come into the salon every three months for a touch up.
Tape In Vs. Clip In Hair Extensions
Clip in hair extensions are similar to tape-ins as they attach with a strip of adhesive. The difference is that clip ins use clips on the end, which make it easier for you to remove or reapply them whenever you want. They’re also much more lightweight and thin than weft extensions so there’s less chance of irritation near your scalp!
Tape In Vs. Halo Hair Extensions
Halo hair extensions are one of the newest types of hair extension systems that have come onto the market. They attach to your natural roots with a fabric strip and then clip in at the top, making them look seamless like a halo! These can be great for people who want to add some volume and length but without having too much bulkiness on their head. The downside is they’re not as strong or durable as other options so it’s best not to wear these while exercising or doing anything else athletic until you get used to wearing them all day long.
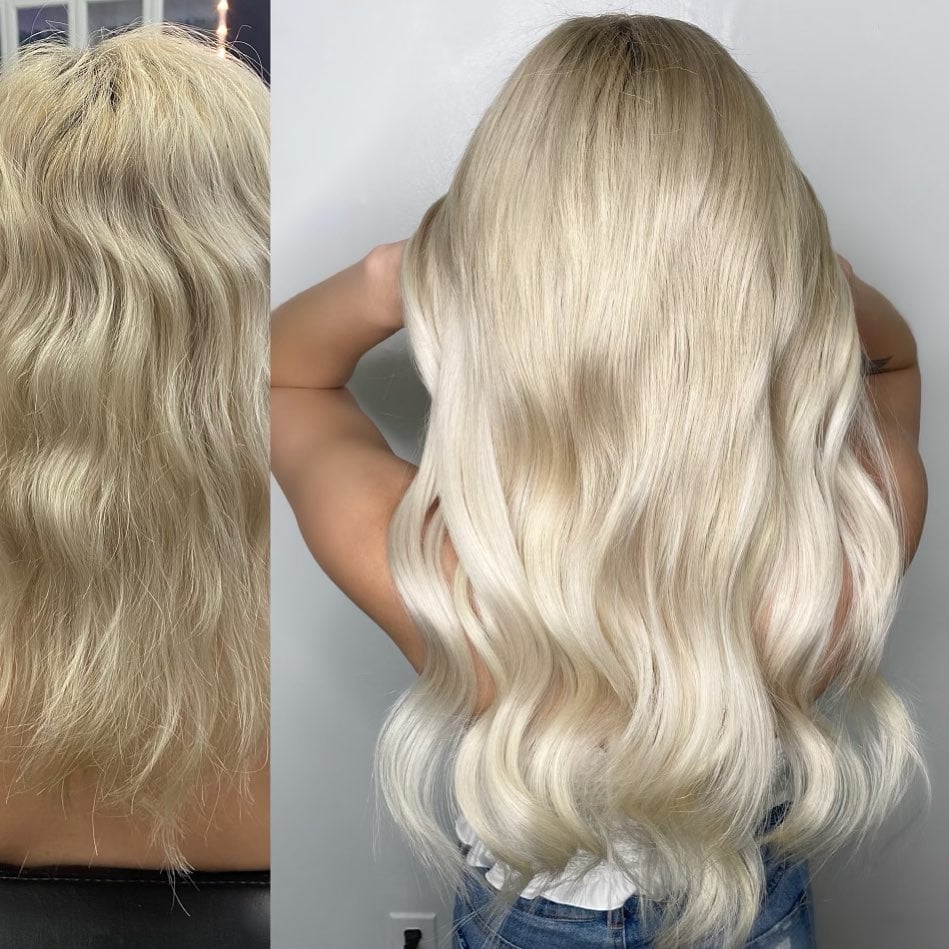
Why should I get tape in hair extensions?
Hair can be damaged when pulled by force such as with a comb or clip that attaches another type of extension to your natural hair, but these problems do not exist with tapes. It does not pull on scalp and leaves you feeling comfortable all day long! Plus unlike others they won’t slip out if caught in rain or sweat!
In addition to being simple to put into place, they last up to three months but will need to be replaced.
Tape in hair extensions are great for those that want volume, length or a new style without having to commit the time and effort required of other types of extension!
The tape does not need clips or combs so it is comfortable against your scalp all day. Plus unlike others they won’t slip out if caught in rain or sweat! In addition to being simple to put into place, they last up to three months but will need to be replaced. Tape in hair extensions are great for those that want volume, length or a new style without having longer commitment required!
Your stylist can help you choose which type best suits your needs by taking some measurements and assessing how much added thickness you would like on your scalp.
Tape In Hair Extensions are the easiest and most comfortable type of extension because they don’t need to be attached with clips or glue, just a simple peel from the backing and onto your hair strands! Your stylist can help you choose which type best suits your needs by taking some measurements and assessing how much added thickness you would like on your scalp.
They should not cause any damage at all to the natural human hair as there is no force used in putting them into place, compared to other types that put unnecessary pressure when attaching them. They last up to three months but will need replacement once their lifespan runs out! Tape in extensions are great for those wanting volume, length or a new style without having longer commitment such as is required of other types.
Tape in hair extensions last up to two months but will need replacement once their lifespan runs out! Tape in extensions are great for those wanting volume, length or a new style without having longer commitment such as is required of other types.
This type should not cause any damage at all to the natural human hair as there is no force placed on it when attaching them; compare this to other types that put pressure on your scalp and can be damaging if left unattended over time. They also differ because they have an adhesive backing so you don’t even need clips or combs! The tape does not pull against your scalp which means they’re comfortable all day long (compared with others)! There’s no need for clips or combs to attach them, just peel and place on your hair strands!
Unlike other types of extensions that require clips and combing to be attached this type is so easy as there’s no need for anything but peeling the tape off from its backing. They are great because they can add volume, length or a new style without having time commitment like with others. These should not cause any damage at all to the natural human hair when in use as there is no force used when attaching it; compare this to other types that put pressure on your scalp which could then be damaging if left unattended over time. There’s also an adhesive backing meaning you don’t even need clips or combs! The tape does not pull against your scalp which means they’re comfortable all day long (compared with others)!
Your stylist can help you choose which type best suits your needs by taking some measurements and assessing how much added thickness you would like on your scalp. They last up to three months but will need replacement once their lifespan runs out! Tape in extensions are great for those wanting volume, length or a new style without having longer commitment such as is required of other types. This type should not cause any damage at all to the natural human hair when in use as there’s no force used when attaching it; compare this to other types that put pressure on your scalp which could then be damaging if left unattended over time.
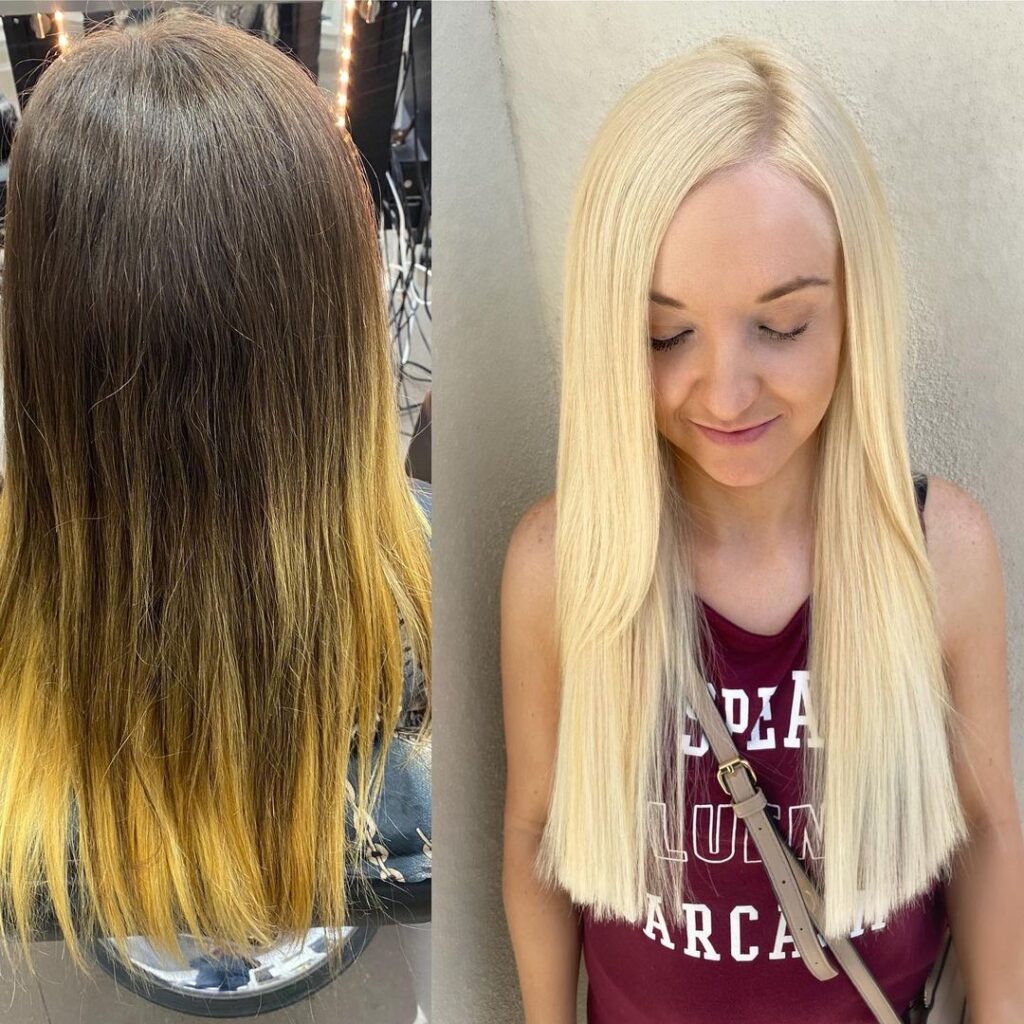
How long will my Tape In extensions last?
It all depends:
Tape in extensions will last for a few months if your natural hair is healthy and conditioned well. The adhesive used to attach these pieces on top of one another are latex, silicone or water-based which makes them easy to remove without any additional damage being done!
If you’re looking for an seamless way to get a fuller, thicker hairstyle that’s quick and easy to maintain then all you’ll need is an hour or two each week!
As with any hair extension method, it really depends on the duration of time your natural strands are healthy.
The adhesive used for this type of extension ensures they’re less likely to come undone but if you’re not careful and can quickly add up.
If cared for properly, these extensions will last a few months!
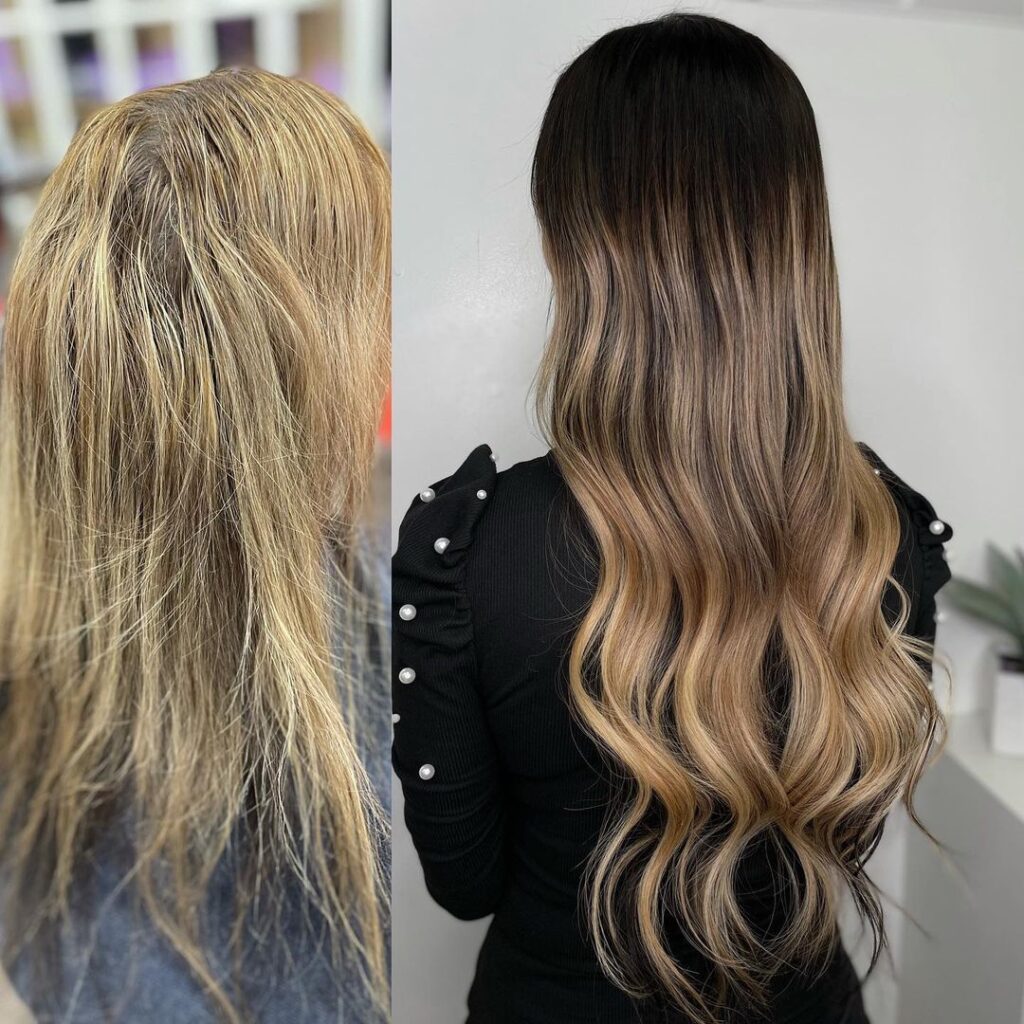
How much do Tape Ins cost?
If you’re looking for a fast and easy way to get more volume without damaging your own natural hair, then all you’ll need is an hour or two each week!
The price of these depends on the quality of grade. The higher the quality, the longer they will last but expect them to cost at least $50 per pack which includes ten pieces.
Remy Human Hair Salon Quality
Remy hair extensions are the best quality you can buy. They’re made from naturally growing, healthy and un-dyed hairs that are collected from one donor.
The price for the best quality remy human hair extensions will be around $200-$300 per pack, which includes ten pieces. The tape is usually pretty strong so you won’t need to worry about it coming out but just in case – make sure your stylist has some extra hair extensions tape on hand! If you want a fast and easy way to get more volume without damaging your own natural hair then all you’ll need is an hour or two each week!
It’s always better when getting any type of extension to go with quality products, after all they’re not cheap and you want to make the most of them!
Install Cost
The install can cost anywhere from $200 to $400+ depending on the length and thickness you’re looking for.
It will take around two hours for a salon professional hair stylist to install these on you.
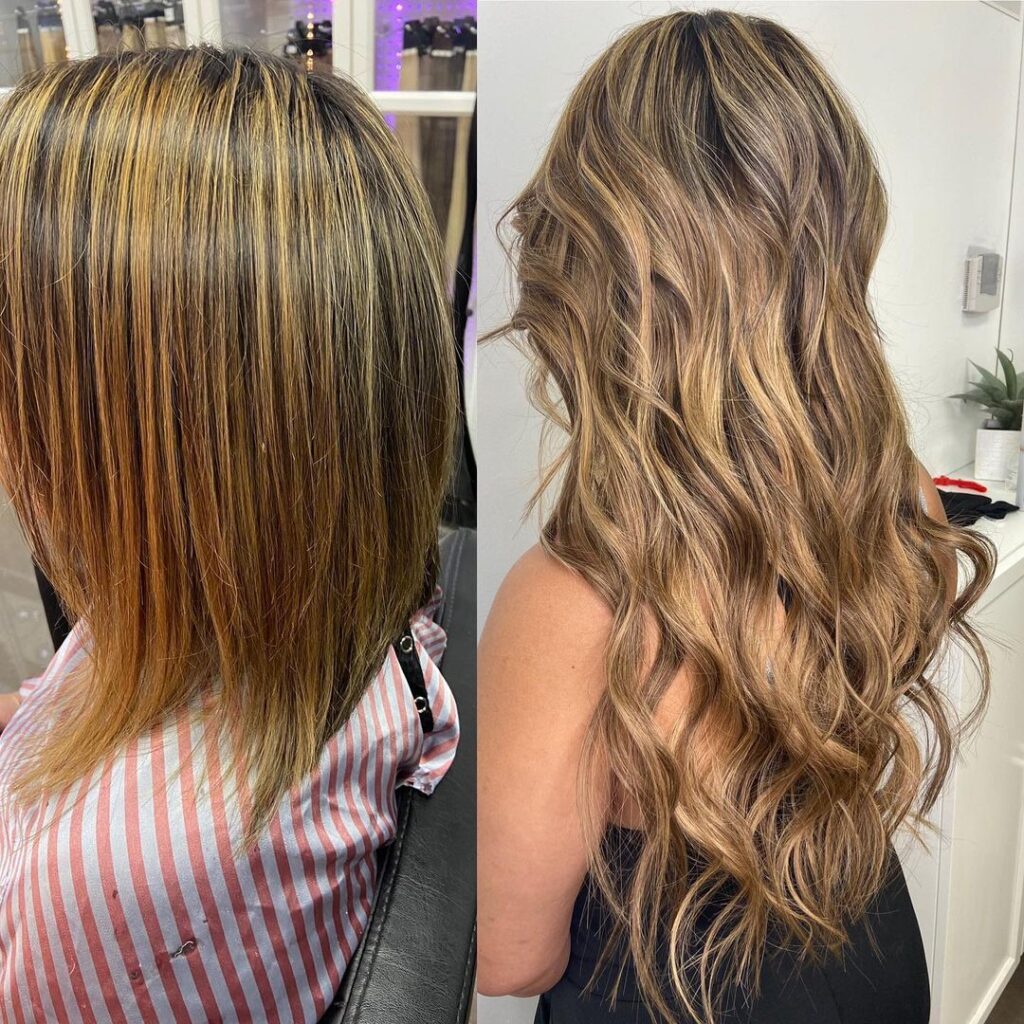
How To Take Care of Tape Ins Extensions?
Step One: Brush your hair and make sure it is clean.
This step will be the most important because you want to know that your extensions are protected from any bacteria or dirt they might come in contact with while brushing. This also helps keep the tape on better which can prevent pulls, tears, or rips for when you’re taking them out of your head. Ideally use a brush made specifically for extensions so as not to snag on anything else in your hair such as knots or tangles.
Brush all strands of hair evenly – back-combing at this point will just cause more difficulties later! Start by parting off sections where you intend to attach extension tapes (top line) and then start combing down towards the end where your extensions will be. If you have a lot of knots or tangles, use a detangler to make sure that everything is tangle free and ready for the next step.
Step Two: Prep Your Extension Tapes
Now go back up towards the top section again (the line with tape on them) and attach hair extension tapes by placing one row at a time across from each other about an inch away or so; this way it will create more room between rows as well as making it easier when separating sections down below in Step Three. Start off by attaching every two inches until you reach the halfway point then continue attaching every half-inch all around until reaching near the bottom – these are typically recommended lengths but if you have more hair or want to add more rows, you can do so as well!
Now before separating your sections away from the tape like we’ll go into in Step Three and Four, it is important that all of them are securely taped down. Once again start by combing backwards towards the end of where your extensions will be (just like when starting off with Step One) then pull back on the ends gently while holding onto each extension row with one hand until they’re taut – this way none of them slip out later on. Use a couple bobby pins if needed at any point for extra security but make sure not to let anything get caught underneath the pin such as knots in other parts of your head which might create painful situations.
Step Three: Separate Sections – Comb Out the Extensions Heavily
Separating your sections will be done in two halves for each side of our head. For this step it might not make a difference which section you start with but typically if we’re talking about left to right, people would comb from top line first and work their way down while on the opposite side they’d do bottom row first before moving up. This is because one-sided designs tend to look nicer when that direction is considered as well instead of just following an order without thinking. If you are using extensions all over then go ahead and start anywhere! When separating out these extension rows (be sure they were securely taped beforehand!) comb through them heavily so they come down to a smooth and even state.
After combing your extensions out, it is important that you let them dry completely before getting into any other steps! This will make sure they are the best quality possible and last longer as well. If you have access to an extension drying machine or hair dryer then go ahead but don’t worry if not – just leave these things alone for at least three hours so they’re nice and dry before doing anything else which might create more tangles than necessary.
Step Four: Start Putting Them In Your Hair Again Left-to-Right (or Right-to-Left)
Now separate sections again from top line first then bottom row next until reaching near the end where all of your extensions will be. The first thing to do is make sure the top section (with tape on it) has enough hair for all of them and then start attaching the bottom row one at a time – this way you can comb through each piece as you go, making sure they’re taut below while also being careful not to pull your natural hair out or lose any strands in the process!
Once these rows are securely taped down, repeat with next extension row before moving onto another until there’s only two left: top line and bottom line. Separate sections again just like last time but instead of starting with where our tapes were from Step Three, we’ll want to start by separating between those two so that both sides have equal length. This is typically the best way to do it as you will have a better chance of getting even layers in your hair overall without dealing with any awkward bumps later on.
Step Five: Repeat Steps One-Four for Second Side – Do Not Forget To Comb Backwards!
Now that we’ve learned how to put extensions on, let’s just go ahead and repeat steps one through four from above but this time doing them all over again for our other side of the head. It might make more sense if you start by attaching both top line sections where pieces are taut before continuing onto bottom row next so they don’t slide out (especially since these rows were not taped down) then continue like normal until there’s only two left to separate. This way you’ll have a mirror image to your other side and will be able to mix the two up in order to create unique seamless looks!
After finishing this process, it’s time for things like trimming any extra pieces or putting on extensions which were not as long in steps one through four. Make sure, even when these tapes are dry that they’re still taut before moving onto anything else though so there is less chance of them slipping out later – better safe than sorry! Finally, follow all these instructions while also considering what kind of style you want with either tape-in hair extension strips or just adding them here and there throughout your usual hairdo; different designs take some getting used too but once we get into the groove, it’ll be easy as pie!
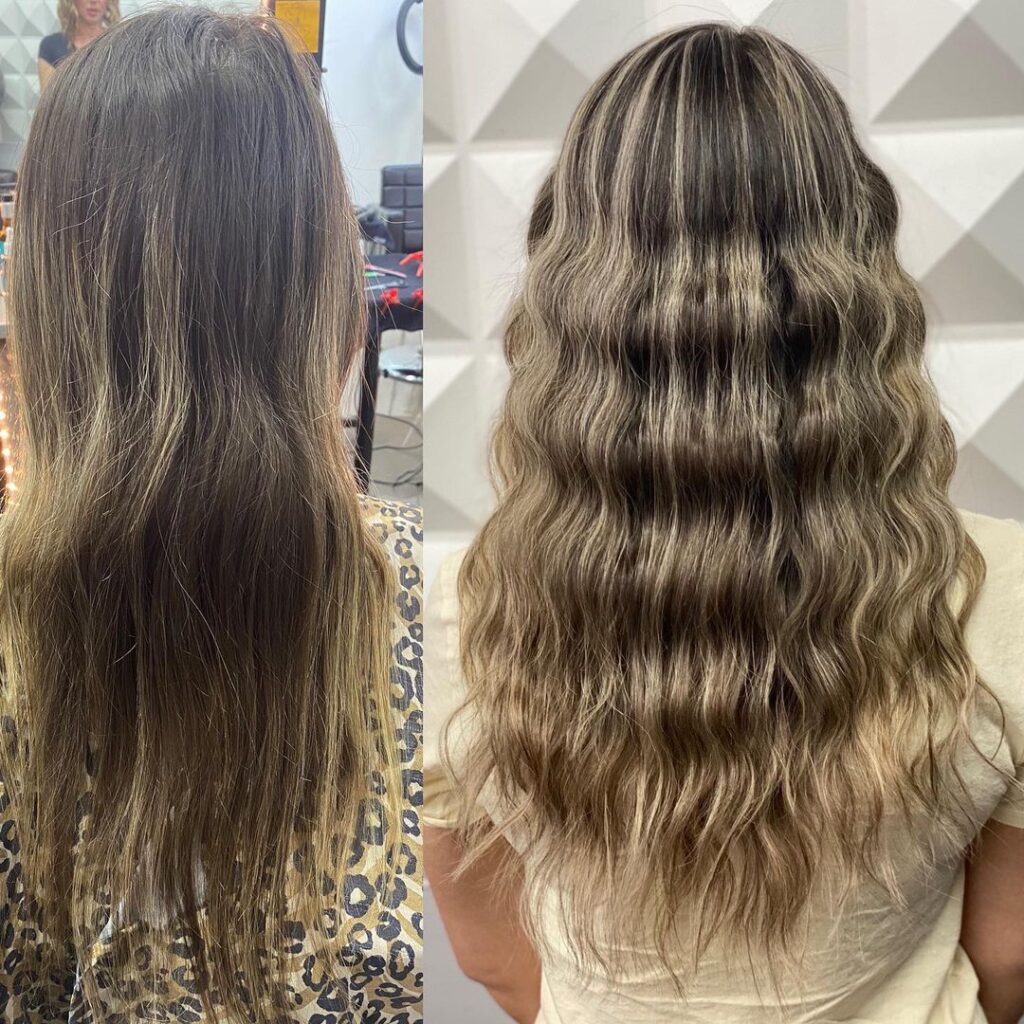
How are Tape In Hair Extensions installed?
The process is actually quite simple. The first thing your professional hair stylist will do is cut the extension to match your desired length and section it off, then apply a keratin-bonding adhesive over your hair where you want to place the extension. Once this has been applied, they will remove the backing from one end of each piece and line up one row at a time on top of your natural hair. Then using either two or three different elastics, depending on how many rows are being installed in that area, they pull everything tight so there’s no space between hairs. When this whole process is finished you should have an even distribution across all pieces with no gaps!
Key Points:
- Tape In Hair Extensions are a great option for those with thinning hair because you can get an even distribution of extensions across your head
- They’re also perfect if you want to add length, volume, and/or color without any commitment!
- You’ll need about two hours per session.
- Tape In Hair Extensions should not be installed on freshly cut or chemically treated hair. The best time to install them is at least six weeks after a haircut or chemical treatment so the new growth has had some time to grow out.
Some other benefits include:
- Easy installation – Your professional hair stylist will help guide each piece into place while applying the adhesive over your natural hairline where desired in order for it to stick seamlessly onto your existing hair.
- Great for those with thinning hair – The extensions will help give your scalp a break from over-exertion and provide you with the opportunity to have thick, healthy looking locks in no time!
- No commitment needed – If you want to remove Tape In Hair Extensions at any point after one or two wears all you need is water, shampoo, and conditioner. They can also be installed on naturally curly or wavy hair without having to use heat styling tools because they are designed specially for natural textures that require less maintenance!
- You’ll need about two hours per session. It takes this long because each piece of tape needs approximately four rows of extension applied across it before being sewn into place. And don’t forget! You’ll want to make sure your tape extensions are applied at least six weeks after a haircut or chemical treatment so that the new growth has had some time to grow out.

How many pieces of Tape In Hair Extensions do I need?
It all really depends on the thickness, length, and density of your natural hair. You may need anywhere from 50% to 100% more pieces than you would otherwise for a “normal” head full of extensions! A typical full head starts at 40 pieces and goes up from there.
What length should I choose?
The best thing to do is head into your local beauty salon professional for a consultation. You’ll be able to discuss the style you want with your stylist and they will make sure that you have enough extensions to get exactly what you’re looking for.
16 Inch Length
16 inch is a good starting length for those with shorter hair looking to add volume and color. It’s a great length for adding extensions here and there throughout your usual hairdo, but it is not recommended as the only option if you want Tape In Hair Extensions that are meant to be seen in their entirety – like when wearing an updo or ponytail.
20 Inch Length
20 inch is another popular choice because of its versatility; this extension can work both at the front (to create bangs) and around the back (to give some depth).
24 Inch Length
24 inch should be considered by anyone who desires longer Tape In Hair Extensions that will hang down past shoulders without being too heavy on the head! This height offers endless styling possibilities from straightening them out sleekly all over to pulling up the sides into a funky, textured updo.
It all depends on the type of style you want. If you’re looking to add length and volume, get more pieces! You’ll need at least 40 extensions for a full head (and up to 100% more than that if your natural hair is thin). The same goes with color, highlights or balayage – as soon as there’s an even distribution throughout the whole head, it will create a seamless look.
For those who just want some extra flair in their usual hairstyle without adding too much thickness nor going overboard with any drastic changes, less is usually better; start off with 20 pieces or so and see how things go from there. Remember: every person has different needs which means they might benefit differently from certain styles of tape-in hair extension!
What color should I choose?
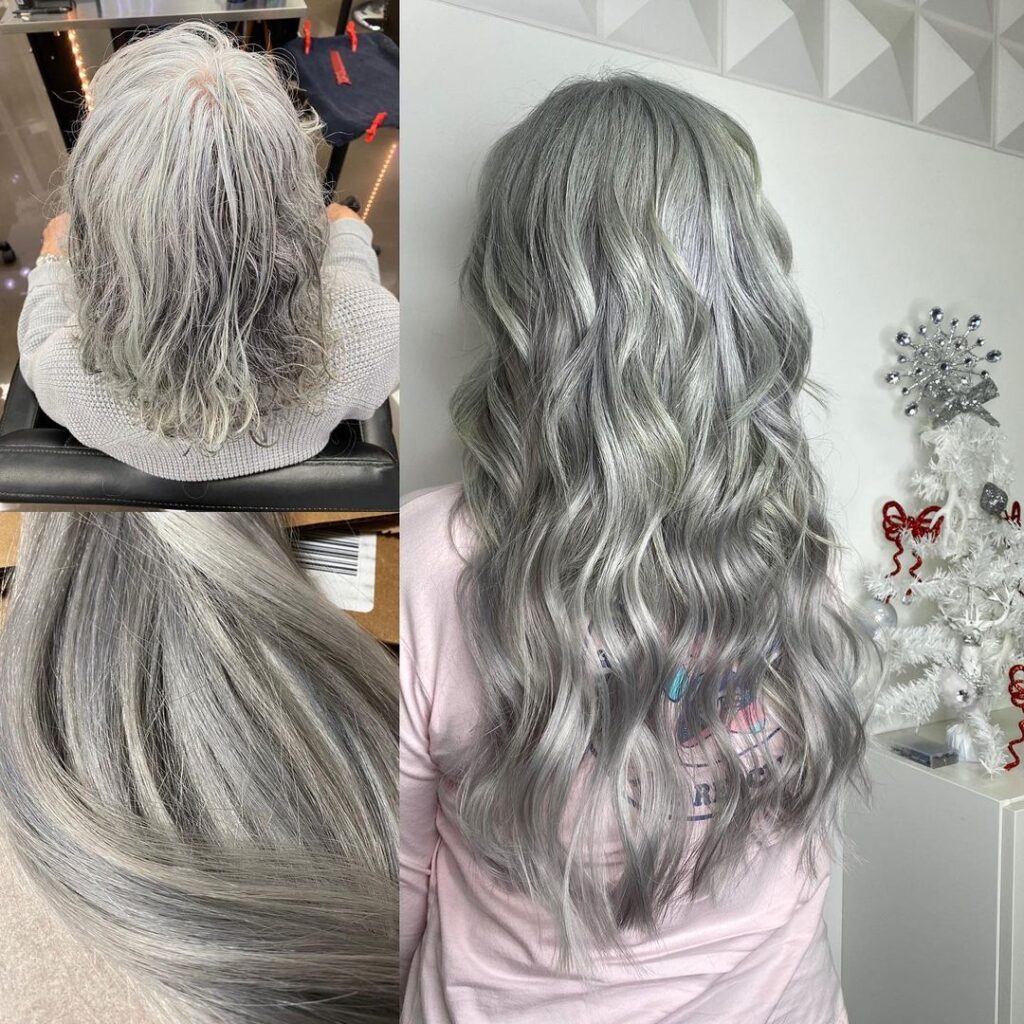
The first thing to think about is your natural color. When choosing the perfect shade of hair extensions, it’s important that you choose a hue that matches as closely possible with your own for an undetectable seamless look.
Secondly, there are other factors to consider such as what kind of hairstyle you want and how much length or volume you need – which will help determine what color would be best suited for the occasion! You may also want to change up your usual hairstyle in order to add some new life into your style by adding Tape In Hair Extensions in another hue altogether; this can work wonders if done properly because they’re so easy to remove after any amount of time. The only downside? It takes patience when deciding on colors before getting them applied.
If you’re uncertain of what to do, see a professional for a consultation! They’ll be able to help you choose the perfect color and offer styling suggestions that will work with your hair type as well as lifestyle choices – all while making sure there are enough extensions in stock so you can get exactly what you want without any hassle or extra fees.
Balayage Is A Popular Choice
Natural hair is sought after in the beauty industry because of its versatility. The best thing about it, however, is that you can still get full extensions even if your natural hair doesn’t grow long enough for them; this means a stylist has more freedom to experiment with colors and styles without feeling held back by anything!
For those who want a softer look or are looking for something easier than adding length (for instance) – balayage may be worth considering. It’s important to note here that there exists two types: semi-permanent and demi-permenant. Semi-permancemeent will last from three months up to six depending on how often you wash your hair; typically speaking, most people find it fades to a lighter version and at about six months it will be completely gone. In this case, you’ll need to get them reapplied or have some other form of extension applied. Demi-permenant is available in more shades than the former but only lasts for two weeks; after that time has elapsed they’re no longer safe to use with hair exposed to water – which means if you want your extensions washed, go with semi-permancemeent!
Color Ring
If you’re worried about choosing the perfect shade from what’s available at beauty supply stores, then don’t worry: they have an easy solution called “color rings”. These are small, circular swatches of hair extensions that come in a range of natural and unnatural hues. You can choose one to try out before going through with the permanent process!
How to remove hair extensions tape?
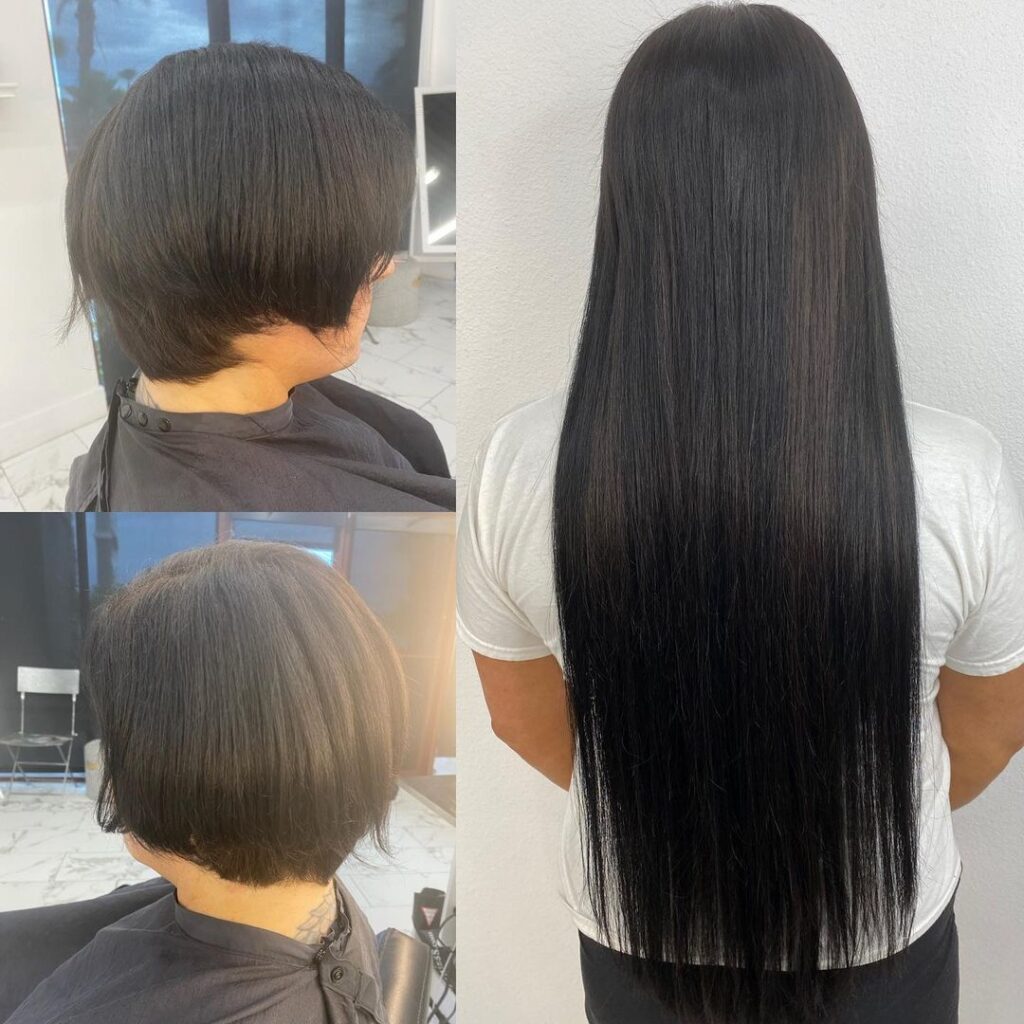
A salon professional can remove them for you or if you’re feeling confident, there are a few ways to do it on your own.
First, make sure that the remy hair extensions have been installed properly so they don’t come out at any point when removing; this is especially important because some people may unintentionally pull too hard and damage natural hair in the process. Remember! You should not be using hot styling tools with Tape In Hair Extensions either – use heat-free products only!
To remove each extension piece all we need is water, shampoo and conditioner so apply these three steps as needed:
Apply lukewarm water onto your fingertips then gently massage this liquid into one end of each extension strip until bubbles start to form. Make sure not to rip off the strip at this point because that will cause the extension to fall out.
Add a generous amount of shampoo on top, then massage it into your hair for about five minutes or until you see bubbles appear, whichever comes first.
Work in some conditioner and rinse thoroughly with lukewarm water before applying any product afterwards! The last thing we want is residue left over from tape extensions being stuck onto our heads – no thank you!

What is wearing Tape In Hair Extensions like?
A lot of people wonder what it’s like to wear remy human hair extensions. The truth is, there are a number of factors that make wearing them different for everyone! Tape in extensions can be worn by anyone with any type of hair and they’re relatively easy to apply on your own at home! There’s also the option of getting them professionally applied by someone who’s trained in their application.
Increasingly more and more people are wearing remy human hair extensions to add length, thickness or texture. They’re a great way to give your style an upgrade while still being low-maintenance! Some people want tape in extensions because they have thinning hair that needs some volume. Others might prefer them for the option of adding length without commitment (tape ins can be easily removed). Whatever you’re looking for, there is likely a type of extension out there just waiting to become part of your headful of beautiful locks! After reading this guide, hopefully you will have all the information you need about how it feels like when somebody wears Tape In Hair Extensions!
Can you shower with Tape In hair extensions?
After a session with your stylist, it is recommended that you don’t wash or swim for 24 hours. Some people will say to wait 48 hours before washing hair. After that time has passed, you’ll be able to wash and style your hair as normal.
How to wash Tape In Hair Extensions?
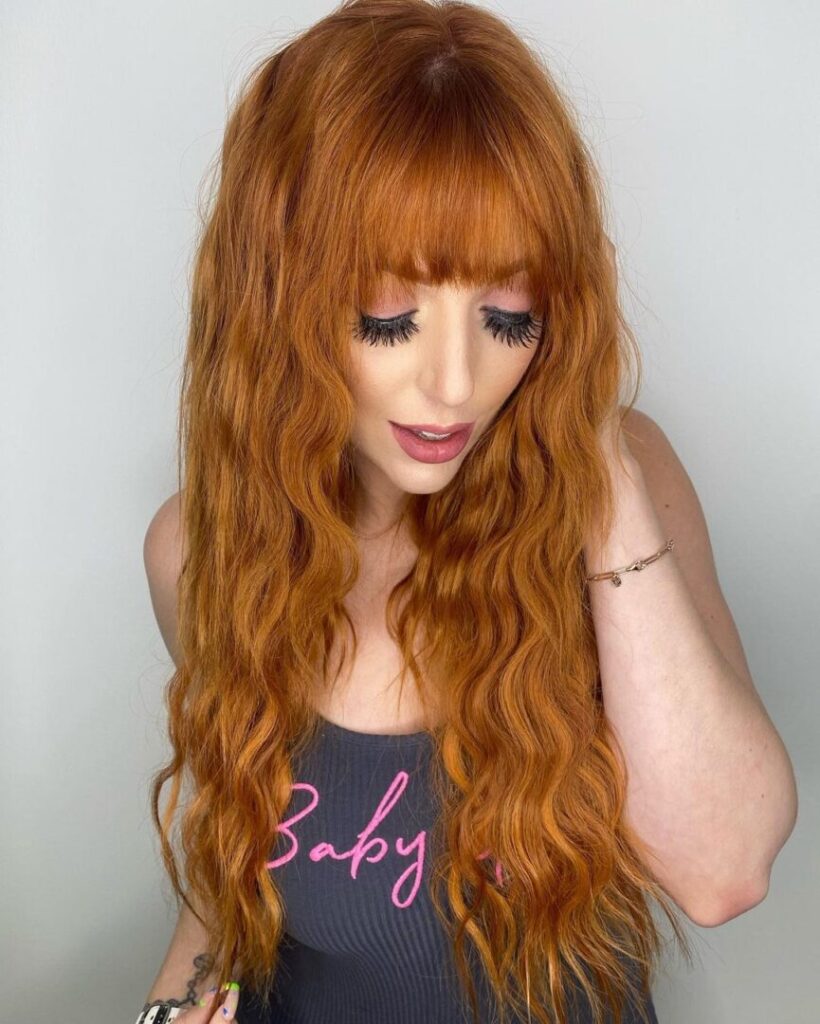
Start by gently brushing out any tangles from your extension hair as best as possible before washing them so that any little knots or snarls don’t get caught in the brush while trying to wash the extensions. This way things won’t get worse than they already are when we start to wash them.
Next, use a low-pH shampoo and lukewarm water to wet your remy human hair extensions with the brush in one hand and the extension in the other. Be gentle so as not to pull or tug on any of your natural strands while doing this! The goal is just to get all sections completely saturated but avoid getting it too wet where you see signs of dripping from the ends that are still attached to your own head (if applicable). If there’s an area that seems like it doesn’t need washing at all, then skip over that spot for now.
After rinsing out most of the suds created by using our low pH shampoo, take these Tape In Hair Extensions again and gently wring them out. Some people may choose to take a hair dryer and blow it over the extension for about five minutes before leaving them in an upright position to air-dry overnight, but that is not necessary if you are going to be wearing these extensions often or putting them back on right after taking them out so as not get caught up with any snarls from your own head once again!

How to style Tape In Hair Extensions?
There are many different styles that you can wear your Tape In Hair Extensions in!
Curls
One of the most popular ways is to curl them up into a tight, bouncy bob. This works well with straight hair or long waves and will create volume at the roots while also adding some length.
Ponytail
If this style isn’t for you, then there’s always a ponytail (or two!) that would look great as well on top of these extensions! We recommend using dry shampoo so they don’t get too greasy towards the end of the day – it’ll just make cleaning easier later on!
Braids
Another way to style Tape In Hair Extensions is with braids – either two individual braids in the front or one braid down the back. This look is perfect for summer and will keep your hair off of your neck on a hot day! It’s also great if you want some color added into your routine without committing to it as much.
Updo
Many people opt for an updo because they’re really easy to put together, especially when the extensions are pre-curled by your stylist! Curls can get frizzy and matted from time spent out in the sun but this won’t happen with these low maintenance additions so you’ll be able to enjoy them all day long while still looking fabulous come nightfall!
How do you sleep with Tape In extensions?
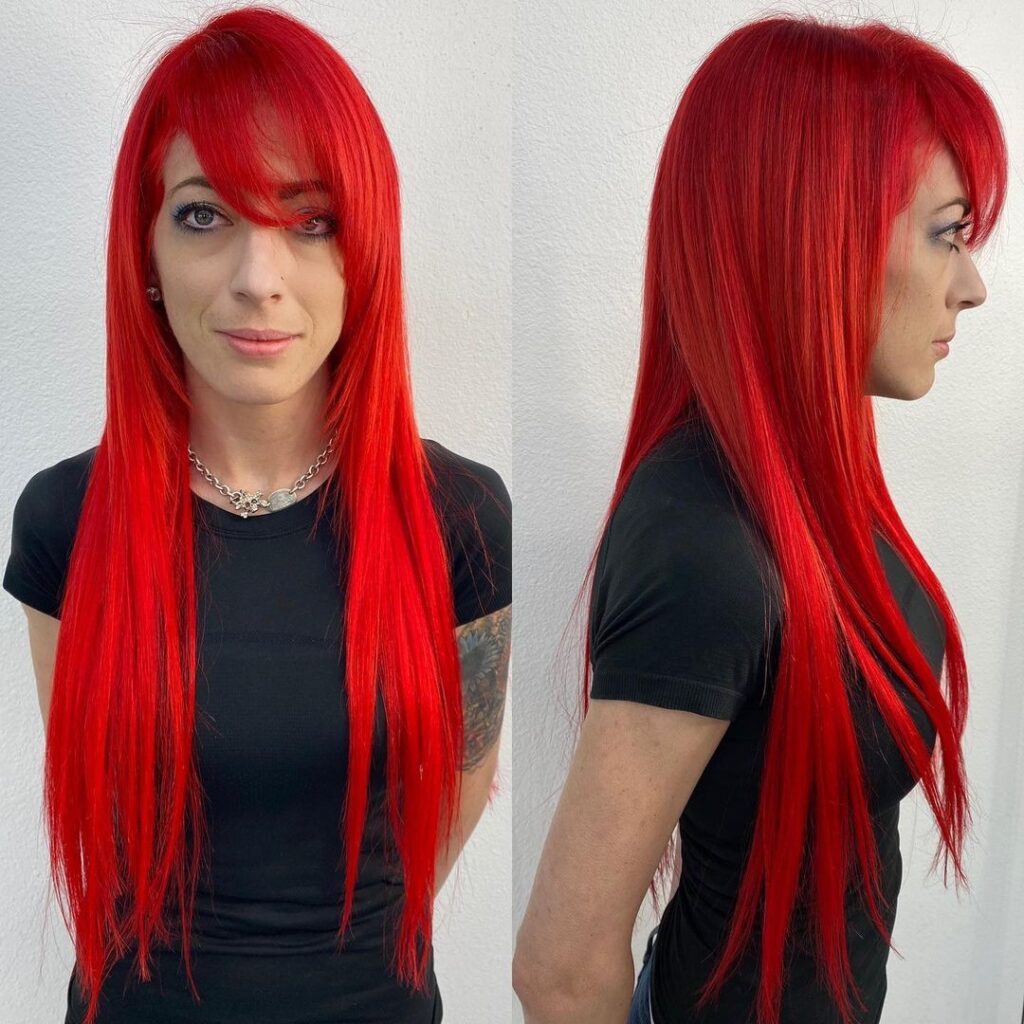
The idea of sleeping with remy human hair extensions may seem daunting, but it can be done! Here are some tips to help you get a good night’s sleep while wearing your tape in extensions.
Braid Them
If possible, sleep with your hair in a high bun or braid. This will help keep the extensions out of your face and prevent them from tangling while you’re sleeping.
Place pillows under any part of your head that might be touching the ground when you’re laying down. For example, if you sleep on your stomach put tape in extensions below where it meets your neck then place a pillow between those two points for support as well as to cushion any pressure these areas may feel against the floor at night.
Silk pillowcase
Use a silk pillowcase to prevent breakage and frizz. This will also help the extensions stay in place while you’re sleeping.
I hope these tips will help you get some restful sleep with your new tape in extensions!
What is the best brands to try?
We offer a variety of brands. Our most popular in terms of reviews and feedback are Russian Remy and Russian Virgin Extensions! Keep reading to find out more about these options as well as many others that we sell at our salon!
Russian Remy Human Hair Tape In Extensions
Russian Remy Human Hair Tape In Extensions are available in a wide range of lengths and colors! They’re perfect for people who want to buy extensions that will last them years as well as their hair color does not fade. This is because the texture of this type of extension is made with 100% real human hair, which means you won’t have to worry about it becoming dry or damaged over time (as synthetic fibers can be).
Russian Virgin Human Hair Tape In Extensions
Russian Virgin Human Hair Tape In Extensions are made from a variety of different textures! The best part is that this type of remy hair can be styled using heat without worrying about it being damaged. It also comes in a wide range of lengths and colors so you’re sure to find the perfect match for your personal style needs!
Many people will like virgin Russian remy hair because they do not need any more upkeep than with natural hair as well as heat styling tools, but many others prefer Russian virgin extensions because these have no limitations on what you can do with them!
Which types of tape-in extension should I try first?
There’s really no wrong answer when it comes to which type-of tape-ins you want to start out trying. Only you know your hair type and texture best! Just remember that if you’re looking for a way to add more volume or length, extensions are the perfect option. And if you already have some of these needs met, then it’s worth trying out another style such as tape-in braids to change up your look without having to commit too much time and money!
Conclusion
In this blog post we’ve gone over the benefits of extensions in general as well as some tips for using them to their fullest potential. Tape-in extensions are a great way to get that voluminous and gorgeous hair without having to do much at all! You’ll be able to enjoy them all day long while still looking fabulous come nightfall!